
Pom Poms!
Spring is almost upon us! If I was going by the amount of rain we've had here over the last week, I'd say it was already here. But the cold temperatures say otherwise. Fortunately, although I tend to think of them as an accessory just for winter hats, pom poms (even their name sounds fun) are a great project for any time of year.
Last time we talked about knitting snowmen. The pattern from Red Heart yarn that was discussed featured a snowman that was wearing a little scarf and hat set, and the hat had a pom pom. It all seemed pretty straight-forward, despite a few pattern changes. . . . until I came to the pom pom. I tried following the pattern, which says to wrap the yarn around your fingers, but after a good 20-40 wraps, it would start getting too tight. So I did a little research on other ways to make pom poms.
There are a lot of different ways to do it, including the finger method. You can use forks, cardboard templates, and a wide array of pom pom making tools; there are tutorials for all these methods on YouTube. I don't want to swamp y'all with links, because I think the method you choose is more of a personal preference and typing 'How to make a pom pom' into a Google search will turn up all the different ways (including hands, cardboard, and forks). Some of the links below of project ideas also feature some of these methods.
For this project, I wasn't sure a regular sized fork would make a pom pom of the right size; my fingers held together as the pattern suggested were about 2 inches across when I measured them, and I used that as a general size goal. And while it is definitely the way to get custom pom pom sizes, I didn't feel like drawing and cutting a cardboard template. After watching all those tutorials, I decided to try a pom pom maker tool.
The demonstrations of how to use the little gadgets made it look pretty easy, but there are some differences between the types of pom pom makers. Boye has a set of pom pom makers that includes 10 sizes of pom poms and a 12-size tassle maker. Clover has sets of pom pom makers in four different size categories (small, large, extra large, and extra small. . . they have heart shaped pom pom makers as well). Susan Bates and Lion Brand also have multi-size sets of pom pom makers, but those two types weren't available at my local stores.
 Ultimately, I chose the Clover pom pom makers, because they seemed to require less trimming to shape the pom poms. And let's face it, there was a very real possibility that if a lot of shaping was required I'd end up with a little tuft by the time I was done trying to get it evenly round. They were also pretty reasonable after using coupons.


Last time we talked about knitting snowmen. The pattern from Red Heart yarn that was discussed featured a snowman that was wearing a little scarf and hat set, and the hat had a pom pom. It all seemed pretty straight-forward, despite a few pattern changes. . . . until I came to the pom pom. I tried following the pattern, which says to wrap the yarn around your fingers, but after a good 20-40 wraps, it would start getting too tight. So I did a little research on other ways to make pom poms.
There are a lot of different ways to do it, including the finger method. You can use forks, cardboard templates, and a wide array of pom pom making tools; there are tutorials for all these methods on YouTube. I don't want to swamp y'all with links, because I think the method you choose is more of a personal preference and typing 'How to make a pom pom' into a Google search will turn up all the different ways (including hands, cardboard, and forks). Some of the links below of project ideas also feature some of these methods.
For this project, I wasn't sure a regular sized fork would make a pom pom of the right size; my fingers held together as the pattern suggested were about 2 inches across when I measured them, and I used that as a general size goal. And while it is definitely the way to get custom pom pom sizes, I didn't feel like drawing and cutting a cardboard template. After watching all those tutorials, I decided to try a pom pom maker tool.
The demonstrations of how to use the little gadgets made it look pretty easy, but there are some differences between the types of pom pom makers. Boye has a set of pom pom makers that includes 10 sizes of pom poms and a 12-size tassle maker. Clover has sets of pom pom makers in four different size categories (small, large, extra large, and extra small. . . they have heart shaped pom pom makers as well). Susan Bates and Lion Brand also have multi-size sets of pom pom makers, but those two types weren't available at my local stores.

The Pom Pom
Despite watching some videos on how to use them, I wasn't sure how it would turn out on the first try. But it was very easy!
I opened the package, opened the little arms, and wrapped the yarn on them (keeping the two top and two bottom ones together evenly); I wasn't sure just how much yarn to wrap on there, but I kept going until it that little arc in the center was almost completely filled. Then I cut the yarn off the skein, and closed the arms back into a circle.
The directions said to use very sharp scissors, so I used my sewing shears to cut all the way around, following the grooved guide. A smaller pair of sharp scissors would probably be a little easier to handle. I cut a long piece of yarn off the skein for the tie, because I wanted to make sure I had enough to attach it to the snowman's hat. That piece slipped between the two halves of the tool, as shown in image 5, and I used a square knot to tie it tightly around the middle of the pom pom. Then I just took the halves apart, and took the pom pom off the center peg.

As you can see, it came out mostly round, except for a few random, longer pieces of yarn. It definitely didn't require any major shaping.

Once those longer pieces were trimmed, the pom pom was ready to go on the snowman's hat!
Other Project Ideas
Since these little balls of fluff are so fun and easy to make, I decided to look for some other projects for them besides hat toppers. Below are some of my favorite finds. The first one is especially handy with spring just around the corner!
Pom Pom Flowers from Kelly Elko
Poppytalk suggests a similar project, but uses real twigs for the stems.
Poppytalk suggests a similar project, but uses real twigs for the stems.
I could also see making some large pom poms like this from other materials as well, such as a bulky yarn. It's a very cute decoration!

This page isn't in English, but the tutorial is photo-based, so it's still really easy to follow.

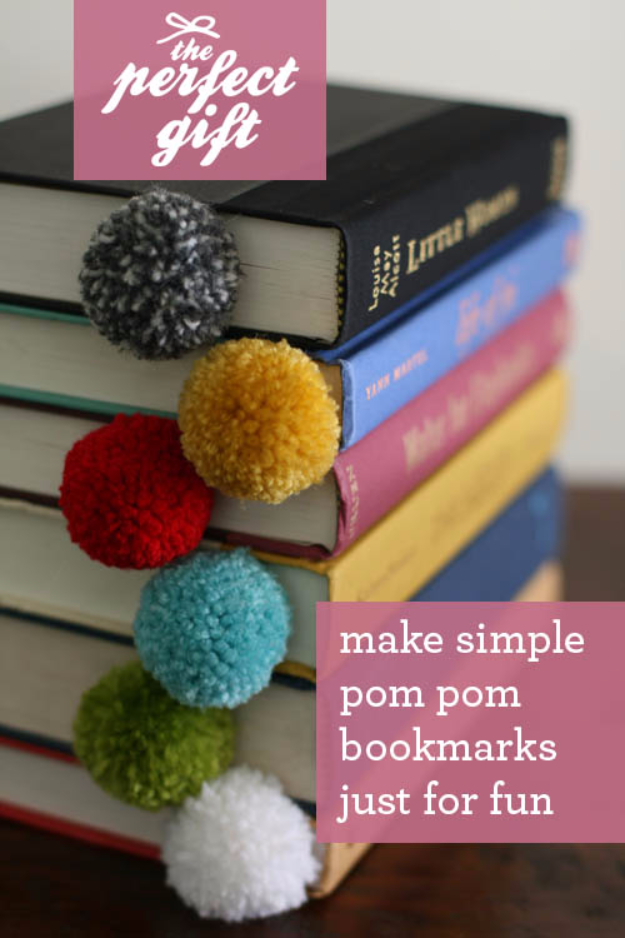
Pom Pom Bookmarks from DesignMom
You could also make a crochet chain tail for the bookmark.
You could also make a crochet chain tail for the bookmark.
I hope some of these project ideas inspire you to find more ways to use pom poms! Until next time, happy crafting!


Comments
Post a Comment